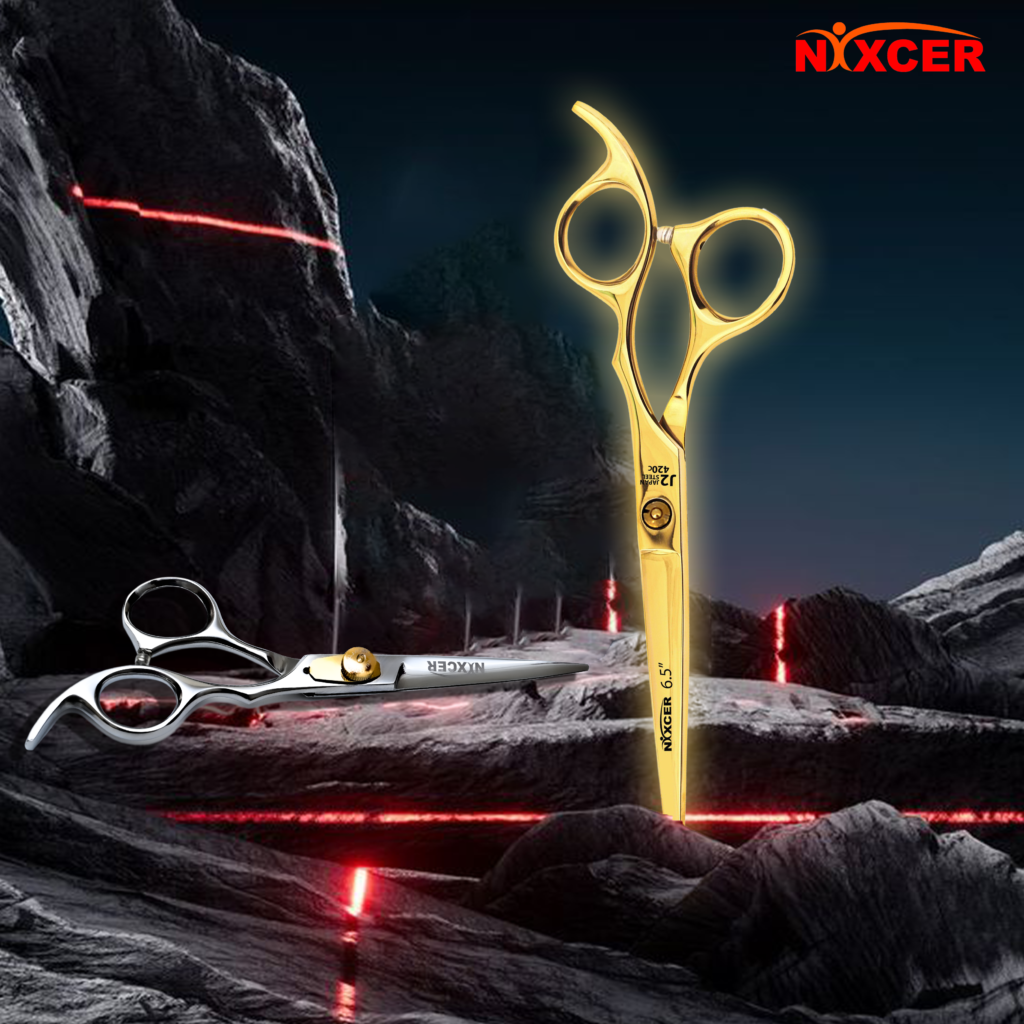
Creating texture in hair is an essential technique for hairstylists, adding dimension and movement to various hairstyles. Hair cutting scissors for creating texture, commonly referred to as texturizing or thinning shears, are specifically designed to blend layers, remove bulk, and create a more natural, effortless look.
Here’s a comprehensive guide on how to use these scissors effectively to achieve stunning results.
Understanding Hair Cutting Scissors for Creating Texture
Texturizing scissors typically have one blade with teeth and one straight blade. The teeth cut a fraction of the hair, allowing you to reduce volume and blend sections without removing too much length. There are different types of texturizing shears, each serving a specific purpose:
1. Chunking Shears: Ideal for removing large sections of hair, suitable for thick, coarse hair.
2. Thinning Shears: Used to blend and soften lines, perfect for fine to medium hair.
3. Blending Shears: Great for creating seamless transitions between different lengths of hair.
Steps to Use Hair Cutting Scissors for Creating Texture
1. Preparation
Ensure the hair is clean and dry. Wet hair can appear longer and different in texture, which might lead to uneven cuts when it dries. Divide the hair into manageable sections. Use clips to keep sections separate. This helps in maintaining consistency and precision.
2. Initial Cut
Before texturizing, perform the primary haircut. This establishes the overall shape and length. Use regular cutting shears to cut the hair to the desired length.
3. Selecting the Right Shears
Choose the appropriate texturizing shears based on the hair type and desired texture. For fine hair, use thinning shears; for thicker hair, chunking shears might be more suitable.
4. Technique
Hold a section of hair between your fingers and point the shears towards the ends at a slight angle. This technique creates a soft, feathered edge. Open the shears and gently slide them down the hair shaft from mid-length to ends. This technique is excellent for removing bulk and creating a natural flow. For a more blended look, comb through a section of hair and make small snips with the shears. This helps in removing excess bulk and creating a smooth texture.
5. Blending Layers
Use blending shears to soften the lines between layers. Start from the mid-section and work towards the ends, making small, precise cuts.
6. Adding Volume and Movement
To add volume, focus on the top layers. Lift sections of hair and use chunking shears to remove bulk close to the roots. This creates lift and movement.
7. Refining the Cut
After texturizing, refine the haircut by checking for any uneven sections. Use the texturizing shears to make final adjustments, ensuring a balanced and cohesive look.
Tips for Effective Texturizing
- When using texturizing shears, it’s better to make small, gradual cuts. You can always go back and remove more if needed, but it’s hard to fix if you cut too much.
- Adjust your technique based on the client’s hair type. Fine hair requires a gentler approach, while thick hair can handle more aggressive texturizing.
- Mastering texturizing techniques takes practice. Be patient and take your time to understand how different shears affect the hair.
Benefits of Using Hair Cutting Scissors for Creating Texture
- Texturizing shears can be used on all hair types and lengths, making them a versatile tool in any stylist’s kit.
- They allow for personalized haircuts, tailored to the client’s hair type and style preferences.
- These scissors help achieve a more natural, lived-in look, as opposed to a blunt, overly structured cut.
Final Thoughts
Using hair cutting scissors for creating texture is an art that enhances the overall appeal of a haircut. By understanding the different types of texturizing shears and mastering various techniques, hairstylists can add depth, movement, and personality to any hairstyle. With practice and precision, these tools become invaluable for achieving a professional, polished finish that clients will love.


